Hi loves! Guuuuuuess what?! Independence day is in LESS THAN A MONTH! Eeek! Guess what else? It just so happens to be my most favorite holiday in the entire world! I love it so much.
Last year, I whipped up five DIY hair bow tutorials for y'all - you can find those here. And this year, I thought I'd break out the paint and woodstain and bring you something that requires a little more work! Ready?!
You will need:
A square piece of plywood (or almost square - mine was 23"x24")
Dark woodstain
Old rag for staining
White paint
Paintbrushes
White chalk
Sandpaper for sanding out mistakes - they happen!
Brown craft paper to put under your project - unless you don't care about whatever it's on!
Start out with your board on paper. As you can see in the photo, I tested out a bit of the stain before doing the full board to make sure I liked it. I did :)
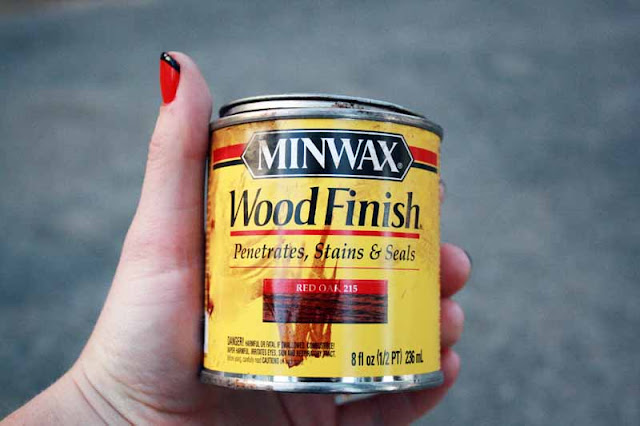
This is the wood finish/stain I used - and I love it. It was the perfect color for my taste.
Stain your board - fully. I used an old rag, so it wasn't too think. I wanted to maintain the pattern the plywood has and I loved the depth the stain created. Make sure to stain the sides, too.
Let the stain dry (I didn't wait that long, honestly. I think I waited like 5 minutes. It was a thin layer and I'm impatient!) and grab your chalk. Decide how you want to write out your phrase - You could do it like I did or rearrange and change it up! Up to you.
Write it out with the chalk - just a small outline. Doesn't have to be perfect, it's just a guideline. And guess what? If you mess up, just use your stain rag and "erase" it. Sigh. the glories of temporary art supplies.
After you have your outline, pick up your paint brush and go to town! The paint I used was called "Chalk" by Royal Interiors for Ace Hardware. I'm in love with it. You'll want to let your first layer dry - try not to mess with it too much. You can go back and touch up all you want. I let mine dry about 15 minutes, did another layer, and let that dry overnight. If you drop or drip any paint, wipe it off with your fingers and sand it out. It'll easily be recovered by a quick rub or two of your stain cloth.
this is how it looked after I touched up - I added some stars and made the letters thicker. I did even more detailing after this. And thus, my final product was born.
I also took some red spray paint and sprayed it lightly on the rag I used for staining and rubbed it around the edges of the board. I liked what it added. this is totally optional.
I used the sign I made for the fireplace mantel display - but you could attach hooks and hang it, mount it, anything, really!
If you make this, shoot a link my way - I'd love to see your take on it!
xoxo, Ruthanne


.jpg)

Ohh! I love it. I might have to try this out in my new room with some sayings maybe. OH! And speaking of rooms, I was blog stalking (#sorrynotsorry) and I LOVE how you spray painted the empty frames and hung them. Come down to Washington and design my new room mmmkay? <3
ReplyDelete