Showing posts with label yummy. Show all posts

9.11.12

apple cinnamon rolls

Good morning wonderful friends!

Today I have an incredibly delicious (and probably borderline sinful) recipe for you!

Yesterday it was snowing and I decided it was the perfect time to try out a recipe I've been holding onto. Apple cinnamon rolls, y'all!

I adapted this recipe from here. Ready? Here we gooo! You will need:

Dough
5 cups of all-purpose flour (separated)
2 cups milk
1/2 cup vegetable oil
2 teaspoons ground cinnamon
1/2 cup sugar
1/2 teaspoon of salt
1/2 teaspoon baking powder
1/2 teaspoon baking soda
1 packet of active yeast (1/4 oz. or 2 1/4 t)

Filling

Apple Filling
3 medium apples, chopped into small cubes (about 1 1/2 - 2 cups chopped)
3/4 cup brown sugar, packed
3 tablespoons ground cinnamon

Cinnamon filling
1/2 cup brown sugar
1/2 cup granulated sugar
1 tablespoon ground cinnamon

1 cup of butter, melted (2 sticks)

Frosting
1/2 cup butter, melted (1 stick)
1 1/3 cup of powdered sugar
1/2 teaspoon salt
4 teaspoons pure maple syrup
1 teaspoon vanilla extract


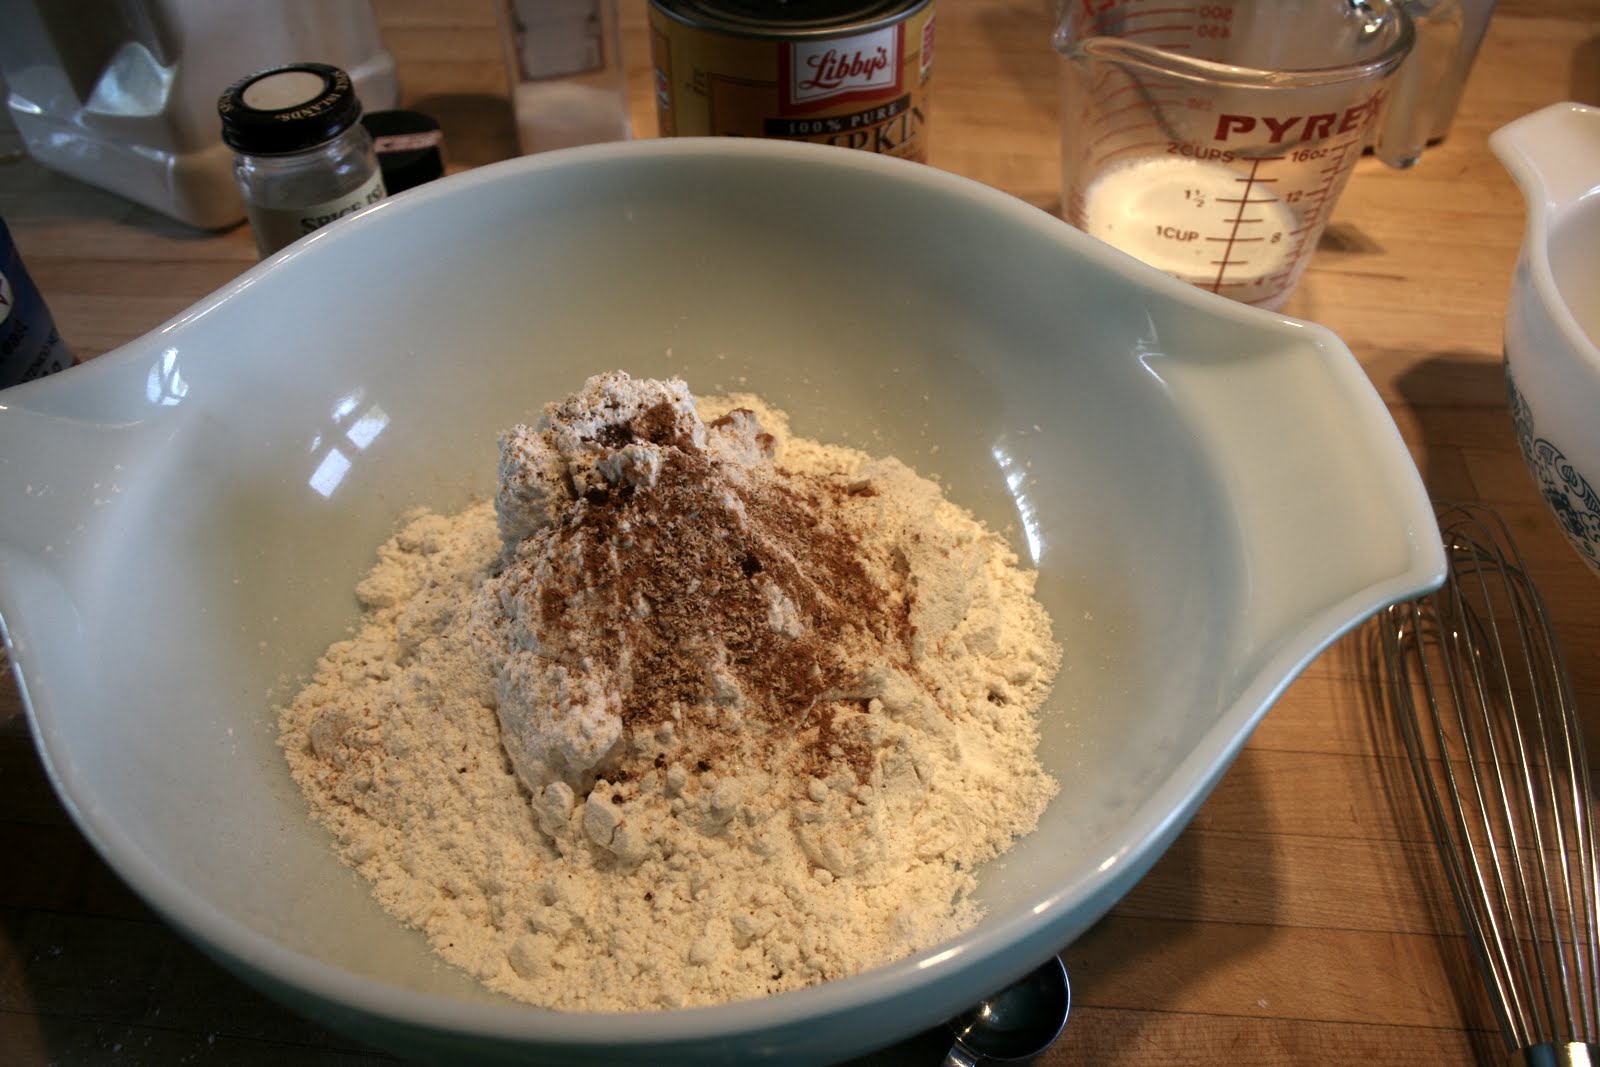
To prepare the dough, heat milk, oil, cane sugar and cinnamon for 5-8 minutes (do not boil). Pour milk into a large mixing bowl and let it reach lukewarm temperatures (to the touch) for about 10 minutes.

Once milk is lukewarm to the touch, sprinkle packet of yeast on top and let it set for one minute. After a minute has passed, pour in four and a half cups of flour and mix until incorporated nicely. Cover bowl with a clean kitchen towel and let dough rise for one hour in a relatively warm area.

After one hour, mix in last 1/2 cup of flour, baking soda, baking powder, and salt. Cover with a kitchen town again while you prepare the filling.

Preheat oven to 375 degrees Fahrenheit.

For the filling, heat up 1 cup of butter and brown it. Be watchful not to burn the butter by looking out for the center of the boiling butter. When the center forms a caramel color quickly remove it from the stove-top and set aside. Then in a small bowl mix apples, brown sugar and cinnamon together. In another bowl mix the cinnamon sugar filling.

Place dough onto a well floured surface and begin to roll it into a thin, long rectangle. I split my dough in half, and ended up getting around 22 rolls from it all. I'd say it varies though, depending on how big and thick you want your rolls to be. 


Once filling components are ready, spoon 1/2 of melted browned butter onto rolled out dough and spread evenly with spoon or pastry brush. Then evenly sprinkle on sugar and cinnamon mixture, followed by chopped apples mixture. Take long end, closest to you, and start to tightly roll dough with filling (try to keep the roll as tight as possible). Once dough and filling has been rolled into a log, pinch the seams shut. Using a sharp knife, slice 1 1/2 inch slices and place into a greased baking pan. be careful not to overcrowd the rolls. I made 9 of mine in a 9" cake pan and the other 13 in a glass pyrex pan. 

Bake for 18-20 minutes, or until lightly golden.


For the frosting, melt 1/2 cup of soft room temperature butter for 20 seconds in the microwave. Remove, and add sugar. Stir well and place in the microwave for another 10 seconds. Remove, and stir vigorously. Add in the maple syrup and vanilla. Keep stirring! Once the frosting has reached a thick consistency, you're golden!

Pour frosting evenly over cinnamon rolls and serve warm.


 And now you can enjoy. These are so delicious - be warned, they may cause you to want to work out. Or not. 

Let me know if you make them - and what you think!

xoxo, Ruthanne

26.4.12

the best chocolate cupcake & cream cheese frosting


this is by far my favorite recipe ever - it's sooooo yummy, and soooo easy. ready?

what you'll need:
1 box of chocolate cake mix - I prefer devils food, but regular is okay too.
2 large eggs
1/3 cup water
1/2 cup sour cream or greek yogurt, plain
1 box of chocolate pudding (the small one - not the huuuuuge box, ya know?)
buttermilk for thinning (less than 1/2 c.)

frosting:
1 stick unsalted butter, room temp
1 package of cream cheese
1 tsp. vanilla extract
about 3-5 cups powdered sugar, depending on how thick/sweet you like it

for the cake:
preheat oven to 350 degrees.

line your muffin tins with liners and spray with a nostick cooking spray.

in the bowl of an electric mixer, combine the cake mix, eggs, water, and sour cream/greek yogurt. mix well for one minute. add the pudding and beat well - batter will become very elastic like - now add buttermilk to thin out the batter a bit. you want to retain the elasticity and somewhat thickness of it, but it needs to be pour-able.

using an ice cream scoop, fill each liner with batter and place in oven. Bake for 17-25 minutes, depending on your altitude. (I'm at 7000 feet...so, it will be different than what I do if you're lower than me...which you probably are..)

after the cupcakes are done baking, let cool completely. otherwise when you frost them....it's no bueno.

now, for the frosting.

beat the butter and cream cheese together for about 2-3 minutes until well combined. add vanilla. slowly add the powdered sugar in increments, until you like the consistency.

I always frost my cupcakes with a piping bag, using a regular round tip for a nice swirl effect.

frost your cupcakes and enjoy! I've never had a complaint about these suckers, and they are definitely my favorite too!

28.3.12

yummy berry cream cheese


you will need:
1/2 cup frozen or fresh berries
1 package (8oz) of cream cheese
1-2 tbs. sugar
bowl (I used a 4 cup pyrex measuring glass - it was easier to hold)
spoon & whisk

note: you can use an electric mixer too, it works splendidly for this. I just find it more work than necessary for this particular recipe.

instructions:
if your berries are frozen, microwave them for about 10 seconds at a time until they are nice and soft, but not hot. drain off most of the juice.

add about 1 tbs. sugar to your berries and mix well.

place your cream cheese in the bowl of your choice, and stir it up! you want it to be fairly easy to stir and smooth.

add the berries to the cream cheese and mix really well. you may want to bust out your whisk now...

once everything is incorporated and smooth, taste to check the sweetness, and add more sugar if needed.

place in an airtight container and refrigerate. I've found it's good for up to 8 or 10 days, but I never let it last that long!

it's delicious on bagels, graham crackers, cupcakes, you name it. 

enjoy!

happy wednesday friends, have a lovely, lovely day! 

xoxo, ruthanne

16.3.12

mmmm.


I made this beauty yesterday..

it was fantastic.

and it looked realllllllly pretty too. 

always a bonus, right? 

maybe I'll share the recipe with you next week. eh?

okay, we'll do that.

3.2.12

guest post: hannah of 17 inch heart

Hi Ruthanne lovers! I'm Hannah from 17 Inch Heart. Don't you just love when you make new friends? I think it's probably just about the best feeling out there! I admire Ruthanne's beautiful little blog- and not to mention she is sweet as pie...or in this case, cupcakes! Not going to lie, I kind of have a little addiction!


But with Valentines day right around the corner I thought I'd share a yummy recipe that's easy and perfect for such a happy day!


Strawberry Lovecakes

Ingredients: 4.5 cups cake flour, 3 cups sugar, 5 1/4 teaspoons baking powder, 3/4 teaspoon salt, 1 cup pureed frozen strawberries, 8 egg whites, 2/3 cup milk, 1 or 2 drops of food coloring
The process: Preheat the oven to 350 and line pan with cupcake liners. With an electric mixer, combine flour, sugar, salt and baking powder. Add the butter and strawberry puree and then mix to the blended ingredients. Raise the speed to medium and beat until it resembles ice cream! In another bowl, whisk together egg whites and red food coloring. Add this mixture to the other ingredients. Bake in oven for 15-18 minutes. Remove from heat and let cool after baking! Then eat up!

-

Hope you love 'em :)
for more giant sized fun, follow me over to my little corner of the blogosphere @17inheart.com :)

-----------------------

isn't she adorable? I just love her :) And her love of cupcakes! Eep! Head on over to her blog, friends - you will love it!! :)

hugs!

-Ruthanne

19.10.11

yummy hot artichoke dip

I am on a recipe kick these days! MAN! Remember that picture of artichoke toast that I posted in last weekday wanderings? Well, I wanted to share the recipe with you, cause it was so yummy and delicious!

Recipe slightly adapted from Paula Dean

Three Cheese Hot Artichoke Dip

  • 1 (8 ounces) block cream cheese, softened
  • 3/4 cup + 1 tablespoon mayonnaise
  • 1 (14 ounces) can artichoke hearts, drained and chopped - to your preference. I like bigger chunks, but you may be different.
  • 1/8 cup chives (or 2 green onions, chopped)
  • 3/4 cup grated Parmesan (I use a blend of different kinds - we like our cheese in this house!)
  • 1 1/8 cup shredded mozzarella
  • 1/2 teaspoon hot sauce 
  • 1/2 teaspoon Worcestershire sauce
  • Salt and pepper

Directions

Preheat oven to 350 degrees F.
In a large mixing bowl, beat the cream cheese with a hand held electric mixer until smooth. Then beat in the mayonnaise until smooth. Add remaining ingredients and stir together until combined. Transfer the dip to a pie plate or shallow gratin dish. Bake in a preheated oven for 30 to 40 minutes until the top is golden brown and the dip is bubbling. Serve hot with crackers, tortilla chips, crostini or veggies.

There ya go! Like I said, I got this recipe from Paula Dean on FoodNetwork.com, and adapted it to what I/my dad likes. It's sooooo yummy && delicious! I personally like to put it on sourdough toast - so so so so SO yummy! (note: that is obviously my fav word today...yummy! hahaha)

xo, 
Ruthanne

pumpkin monkey bread ♥


So I made that yummy pumpkin monkey bread I posted about a while ago...let me tell you this. It's delicious! :) so yummy, and not overly sweet - SCORE!

Anyway. I started taking pictures then got distracted cause I had to let it rise twice, and I got bored and forgot about my pictures. Typical. And then it was devoured so quickly I didn't have time to even get a picture of the finished product! Rats! Oh well, though. Here are just a few pics of the process before my "distraction-syndrome" kicked in ;) hehehe.


welp, that's all I have for you! But, I definitely recommend making the bread - it's fabulous and a great kids snack! :) 

xo, 
Ruthanne

3.10.11

pumpkin spice latte.

so many glorious things come along with the word "autumn". cool, brisk, gorgeous days. If you live in a place like I do, where pine needles fall and not leaves, it means the pine needles covering the parking lots; layering the blacktop with a slippery random design. It means yummy beverages and wonderful colors. Adorable clothes and more opportunities to wear...cowboy boots! And other boots in general, of course. But that's beside the point.

one of my favorite parts of Autumn is the yummy pumpkin, spice, and apple treats that tend to come my way. But you see, where I live (it's a bit ridiculous, actually), we are supposed to be getting snow this week. Yes, snow. But that's another blog post for another time. Trust me.

Today, however, I made a yummy pumpkin latte and just had to share some photos of it's deliciousness!


happy fall! ♥

xo, ruthanne